Melt-and-pour soap base requires heat to be pourable, but adding more heat won’t help the process. When a melt-and-pour soap base becomes too hot, it can become dry, thicker than expected, develop a wrinkled surface, or have shorter working time. For my first batch, the goal wasn’t to heat the soap base until it was extremely hot. The goal was to heat it just enough that the last remaining pieces were gone and the liquid soap base was pourable and easy to mix.
By cutting the soap base into reasonably equal-sized chunks, the soap base will be able to melt more evenly. If there are several big chunks and a handful of tiny pieces, the tiny pieces will overheat while the inside of the bigger piece is still unmelted. Using a heatproof bowl, have your mold, color, fragrance, spatula, and measuring tools ready before you start heating the soap base. This is important because once the soap base is out of the heat source, it’s beginning to cool down again, and it’s much easier to find what you need while the soap base is still liquid than when it has begun to thicken.
When melting soap base in the microwave, don’t melt it all at once. Instead, heat it in short bursts, and stir after each burst. Before deciding to heat the soap base further, check the remaining solid chunks. There may be small soft pieces that will continue to melt from the residual heat in the liquid. When using a controlled heat source, such as a double boiler, the same rules apply—keep an eye on the soap base instead of letting it cook for longer than necessary. Avoid over-stirring the base; vigorous stirring can cause air bubbles to form, which show up on the finished bars.
The best way to determine the appropriate working temperature of the soap base is to observe it. Freshly melted soap base should be easily pourable from a spatula, and it should settle easily into the bowl without looking especially thick. If the soap base is steaming heavily, forming a “skin” faster than usual, or looks particularly thick when it has been heated for a long period of time, it may be too hot. Keep in mind that different soap bases will react differently to heat, so be sure to follow manufacturer recommendations if a specific temperature range is suggested.
To test this, try making two small batches using the same soap base and a very simple mold. Carefully melt the first batch of soap base in short bursts until it is completely liquid. Be careful to note any changes that might occur when the soap base is heated slightly more than necessary without actually burning the soap base. Try using the same amount of colorant and fragrance in both batches. How does each batch pour? Do bubbles form? How quickly does the surface begin to firm up? What does the finished bar feel like once the bar is released from the mold? By changing only the way you heat the soap base, it becomes much easier to see the difference.
Another reason to avoid overheating soap base is that it is easier to mix colorants and fragrances into the soap base while it is still liquid but not too hot. Add color and fragrance after you’ve measured it, and stir gently and slowly. If the soap base begins to set before you’re able to pour it, don’t immediately try to fix the problem by blasting the base with a lot of heat. Sometimes, a gentle reheating can help return the soap base to its liquid state, but repeatedly heating the soap base can make the pouring process difficult to manage.
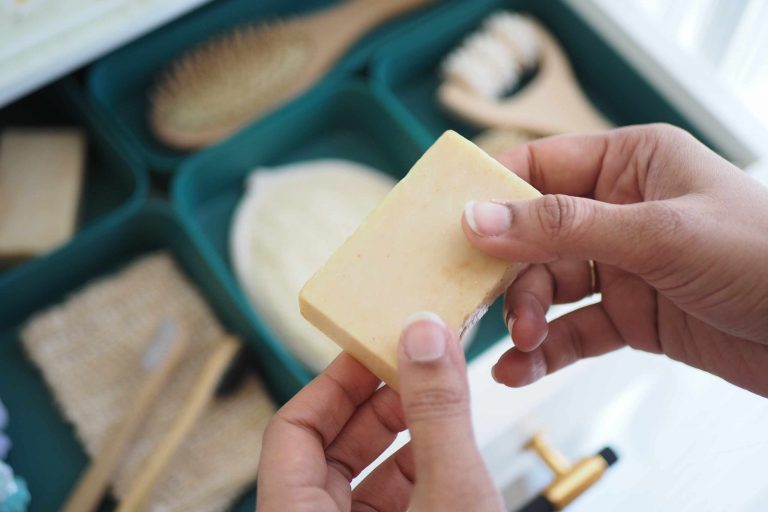
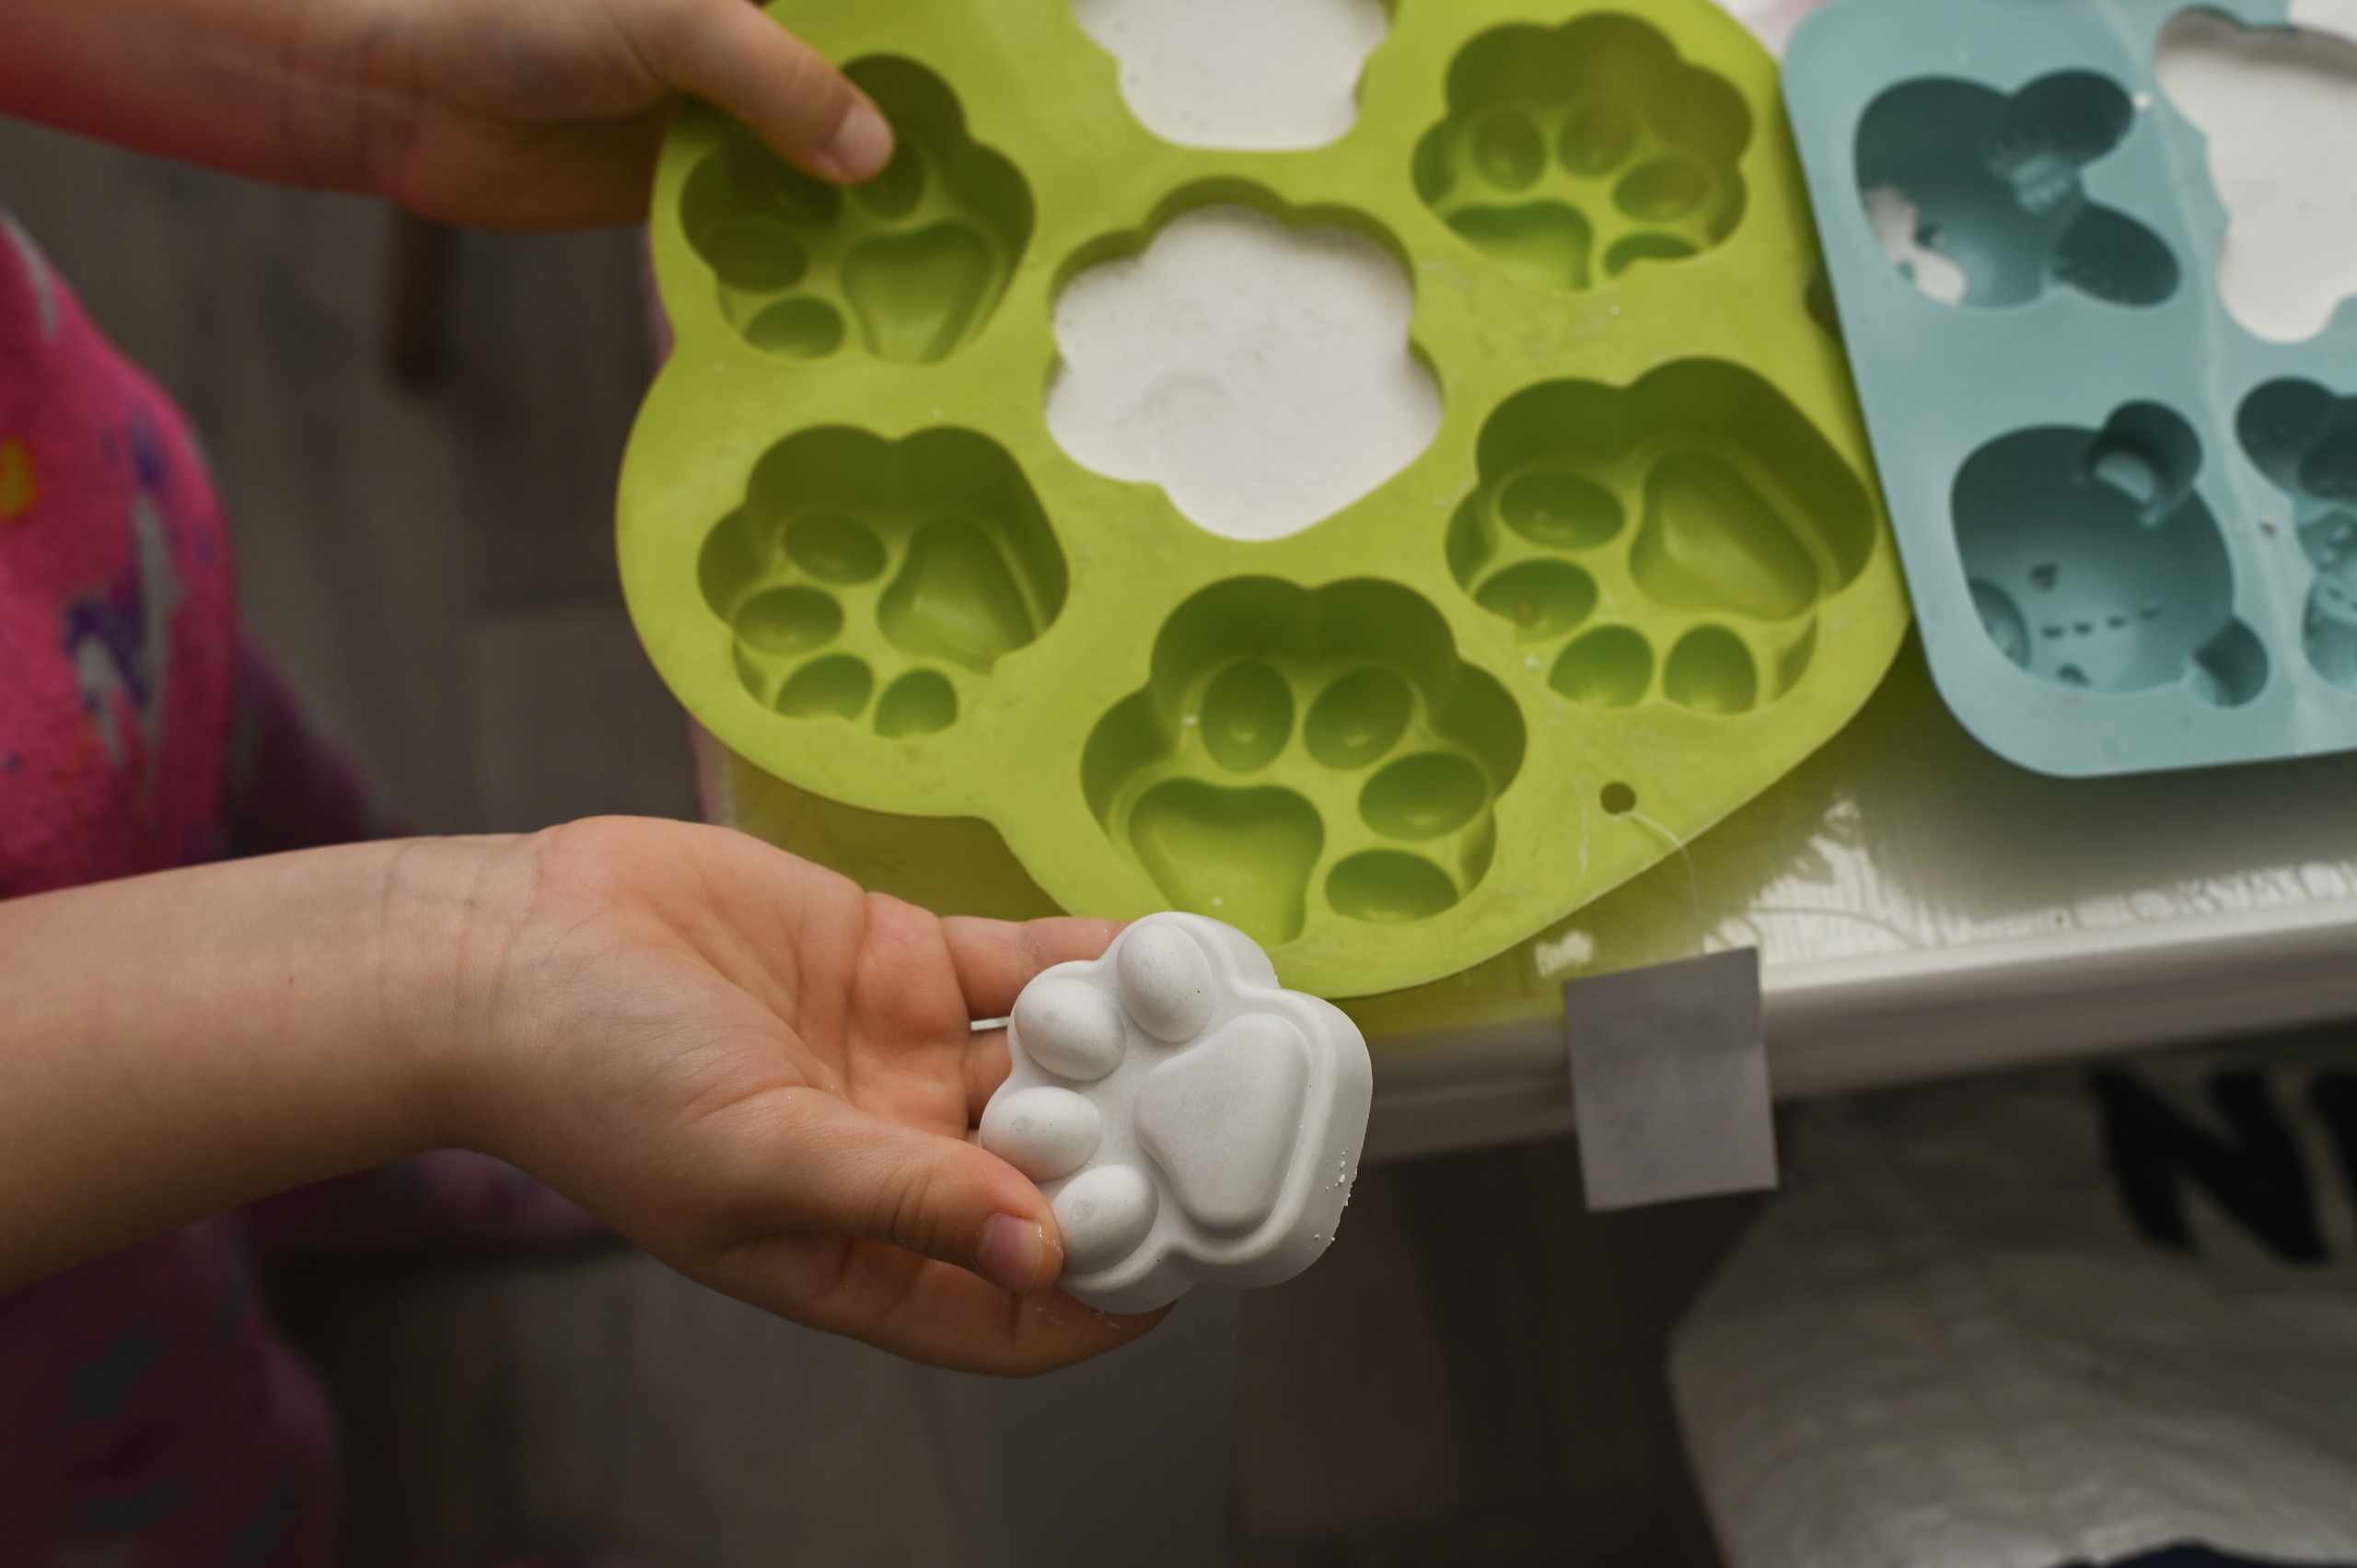
One sign of successful heat management is when a batch stays liquid long enough to pour cleanly without rushing. You should also have enough time to deal with any air bubbles that may have formed on the surface. Your final product should match the mold, and shouldn’t show signs of being over-heated. Next time you’re melting soap base, pay attention to the point where the last pieces are melted. This is often where the best pour begins.