You pour what seems like a smooth mixture into a silicone mold, and the next thing you know, there are tiny bubbles all over the top. Some are big enough to make indentations after they pop, and some are smaller and just make the surface look a bit bumpy. In melt and pour soap making, bubbles typically occur because air gets incorporated during stirring, when you mix in a colorant or fragrance, or even when you’re pouring the soap into the mold. This doesn’t mean your batch was ruined, but knowing why the bubbles occur will make it much easier to reduce their appearance in your final product.
The best way to learn how to avoid bubbles is to pour the same small amount of soap mixture into two different molds. Mix one half of the soap slowly with a spatula and pour it directly into the mold, while stirring the other half more vigorously and pouring it from several inches away. Use the same colorant, fragrance, soap base, and temperatures for both batches. When you compare the finished soap bars, you’ll be able to see whether the bubbles occurred due to the way you mixed the ingredients, the height from which you poured, or something else entirely.
Stirring is one of the most obvious sources of bubbles in handmade soap. When you stir the soap mixture, particularly when you are adding colorants or fragrance oils, fast stirring can introduce air into the soap base. To avoid this, stir gently. Try to use a slower, more deliberate motion to avoid creating bubbles in the soap. Instead of adding colorants in clumps and vigorously mixing them into the soap, blend your colorants beforehand. Stir slowly and carefully to avoid introducing unnecessary air bubbles.
How you pour the soap mixture into the mold is another factor. Pouring the soap from a great distance above the mold can allow air bubbles to form as the mixture pours into the mold. Try pouring the mixture from closer to the mold, reducing the distance the soap travels before hitting the mold’s surface. Also, try not to pour in fits and starts, as the air introduced each time will have a chance to get trapped. Be sure the soap is warm enough so that it pours smoothly, but not so warm that the fragrance or other additives evaporate.
In suitable melt and pour projects, you can spray the finished soap with rubbing alcohol to pop any bubbles that might be on the surface. However, if the surface is already riddled with bubbles, a quick spray will not fix the problem. The bubbles that remain in the soap after stirring were trapped within the soap. Be sure your soap is at the right temperature before pouring into a mold. It should be warm enough to pour easily, but not so hot that the fragrance or other ingredients begin to evaporate. Too much heat will ruin the soap’s texture and cause unwanted moisture.
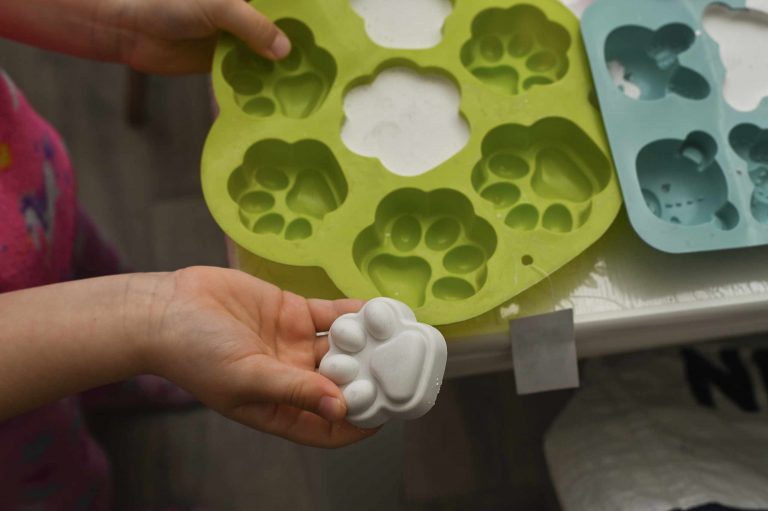
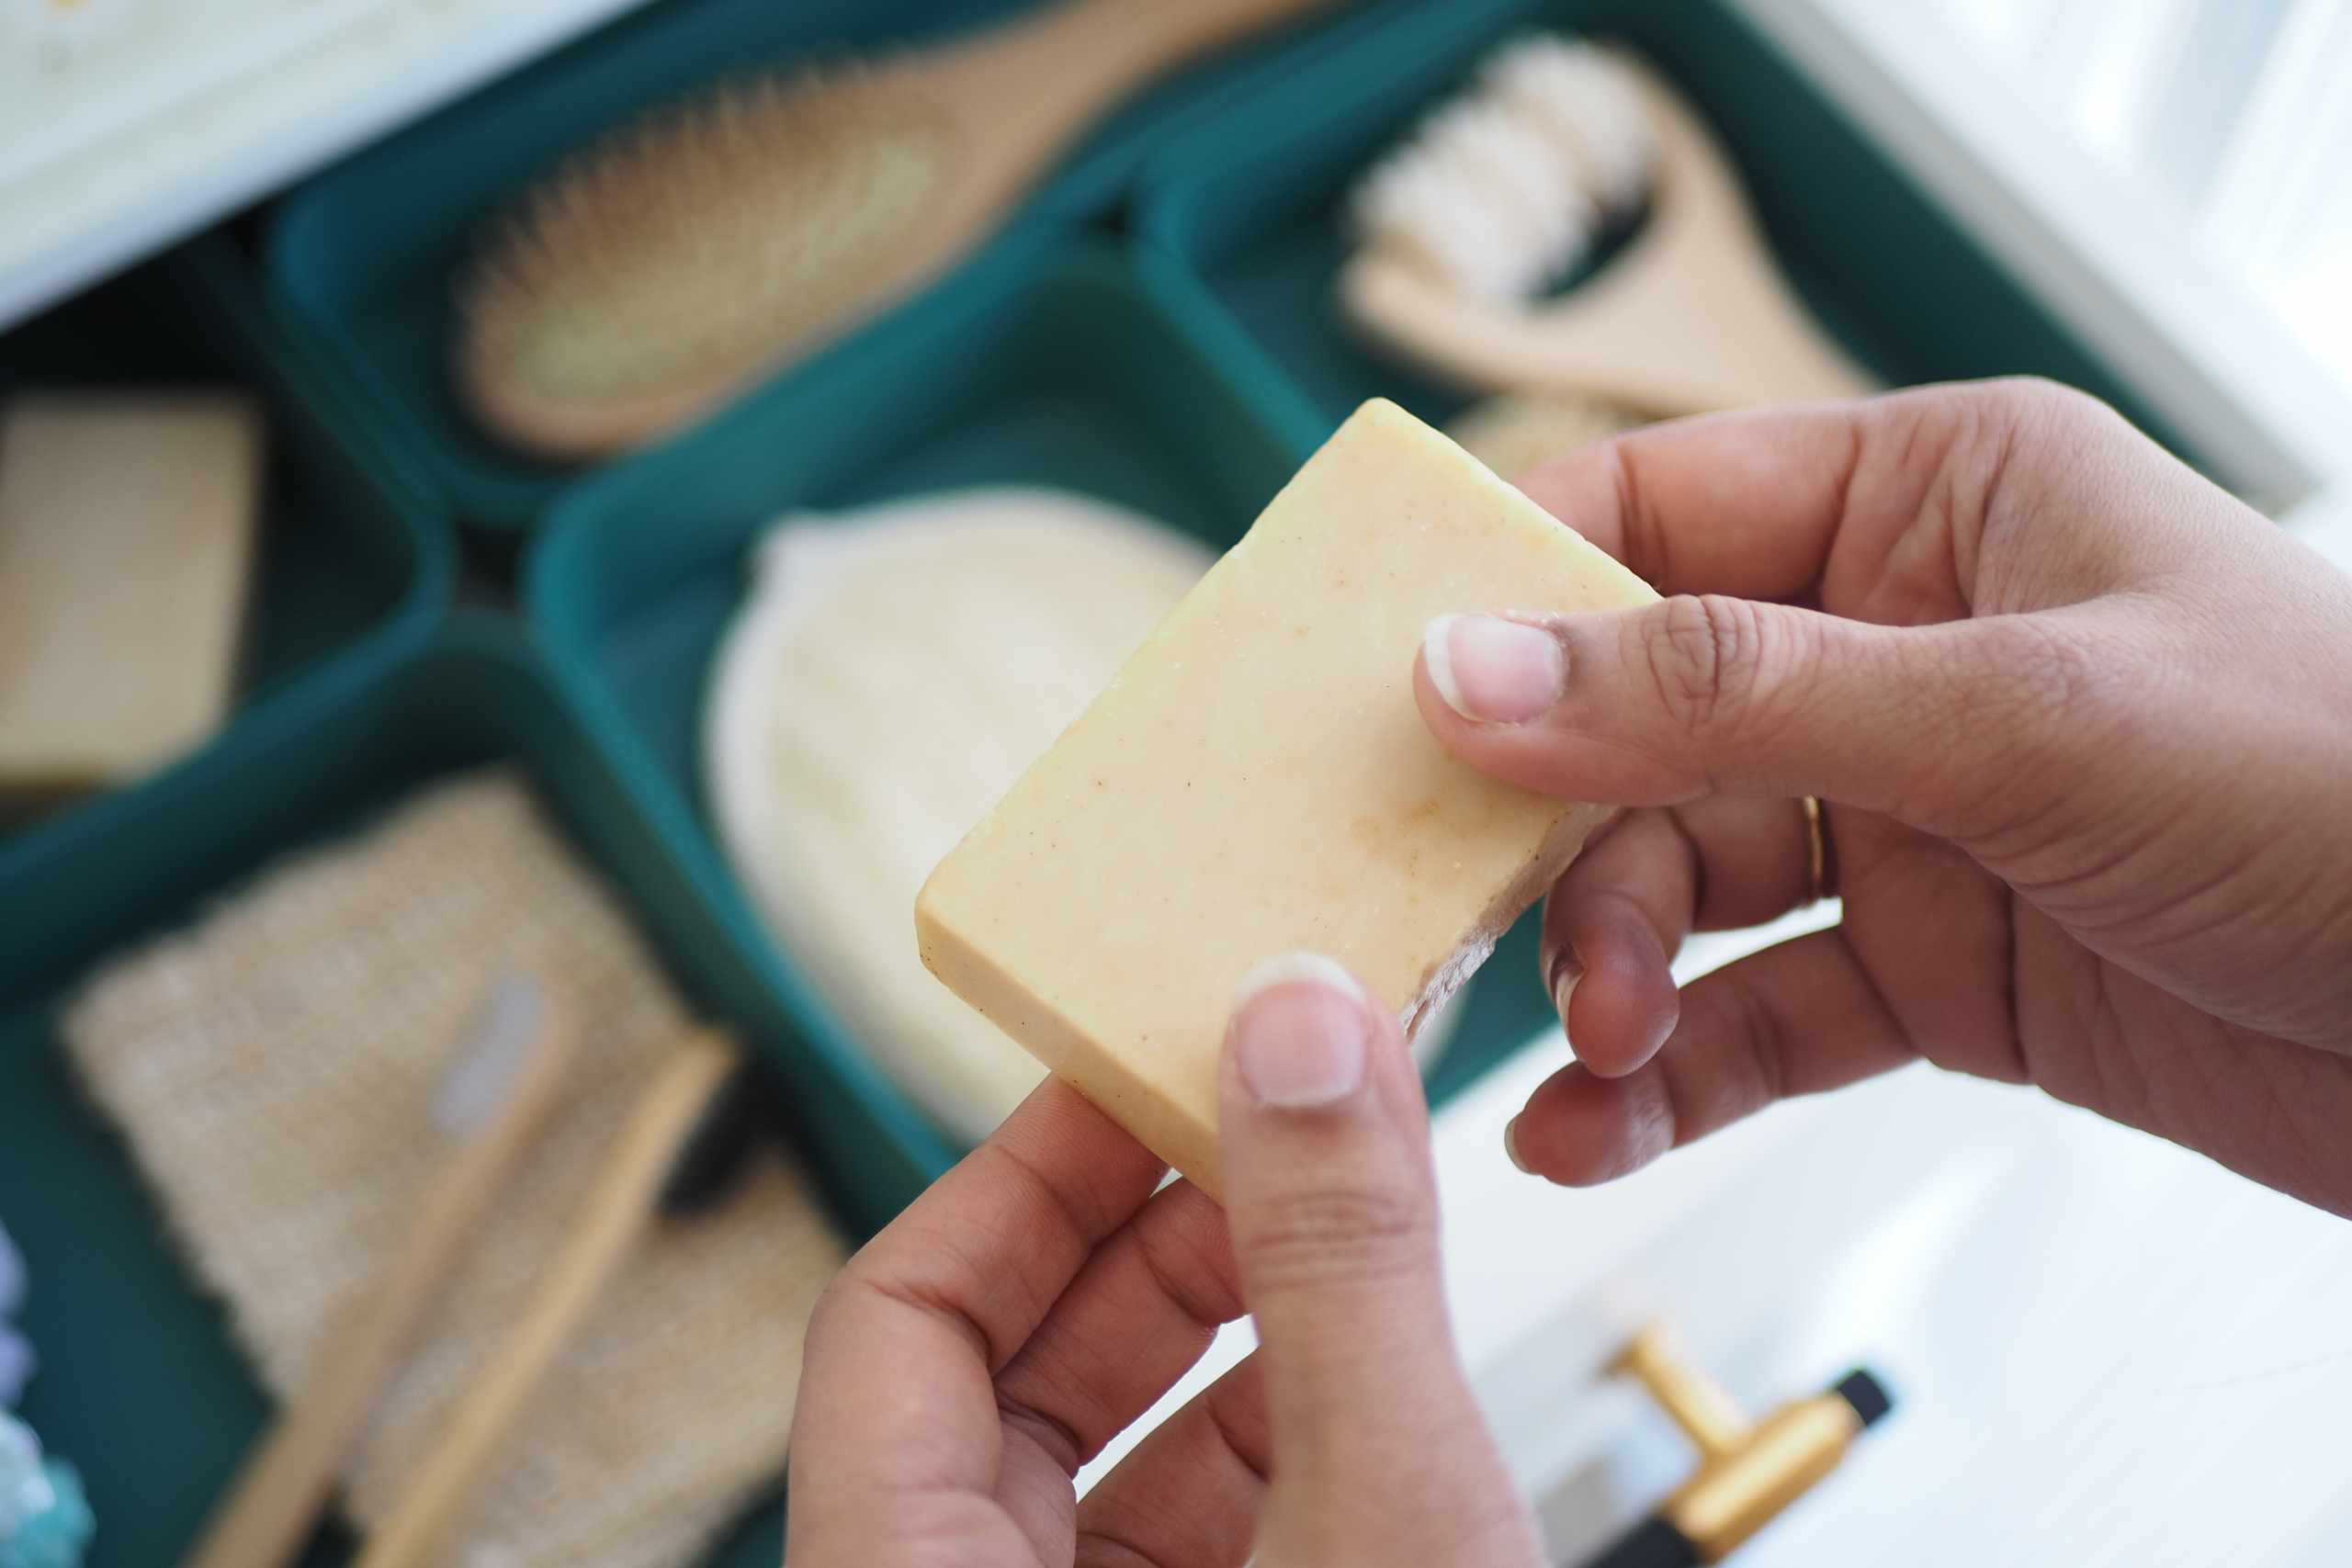
Finally, take a good look at your finished bars after demolding. Check for bubbles along the edges and the corners of the soap. Sometimes, you won’t be able to see the bubbles unless the soap is clear. To avoid needing to cut out bubbles later, avoid having to fix bubbles after you’ve poured the soap by keeping track of what causes bubbles. If bubbles continue to appear in your soap, try to isolate which step might be causing the problem. Make only one change at a time so that you can determine what actually helps reduce bubbles in your next batch.