Sometimes a nice layered soap looks perfectly bonded while in the mold, but peels along the color line as you take it out. This often happens because the second layer did not stick to the first one. Melt-and-pour soap requires a little bit of knowledge about timing and temperature to create a successful layered design. If the bottom layer is cold enough that it has completely hardened, the next layer will not stick to it. But if it is too hot and hasn’t set yet, the next layer will melt into it, resulting in the colors bleeding into each other.
Ideally, the first layer should be set enough to hold up the next layer but still able to adhere to it. It’s difficult to know the proper setting time just by poking it. Instead, pay attention to what’s happening on the surface and consult appropriate temperature guidelines for your soap base. A layer that still moves a bit when you touch it is probably too soft. On the other hand, a layer that sits for too long before you add the next one may need some additional steps to get it to properly adhere.
For certain melt-and-pour soap recipes, it is a good idea to lightly spray alcohol between layers. Use it sparingly, as alcohol should be used to supplement proper technique rather than fix poorly timed pours. Alcohol can get tricky in some soap recipes, so don’t overdo it. Proper temperature management is still essential for adhesion. Lightly spray it on the surface when the label tells you to.
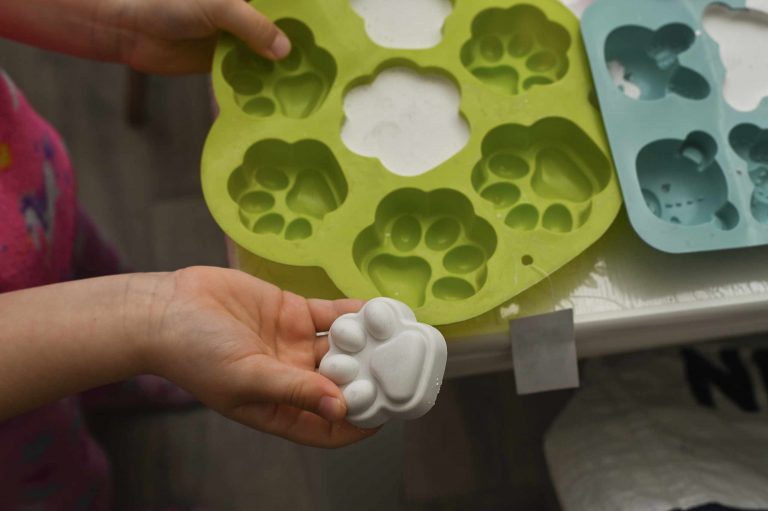
One way to test how to properly layer your soap is to make two small bars. Make sure they are the same shape and size, and use the same silicone mold, soap base, colorant, and layer thickness. Pour your first layers at the exact same time. For the first bar, pour the second layer right after the bottom layer sets up a little bit, and wait a while longer before pouring the second layer of the second bar. Try to keep the pour height and temperatures as similar as possible. Once you have removed the bars from the mold, gently pick them up and observe the color boundaries. Doing this experiment will give you a better idea of how waiting time affects layer adhesion.
It’s important to check the temperature when you pour the second layer. Hot soap can partially melt the first layer, resulting in a messy, muddy boundary or even colors bleeding into each other. If it’s too cool and has gotten very thick, it may not be smooth across the bottom, leaving an incomplete seal along the edges of the mold. Prepare all the fragrance and colorant before you start melting the soap base. You’ll be less likely to delay the second pour while trying to find what you need. Working with a smaller batch also makes it easier to control because the quantity is easier to work with before it starts to set up.
Don’t worry about doing three or four layers if you’re struggling to make two layers stick together. A well-made two-layer soap is a great way to practice your working temperature, setting time, surface preparation, and pouring technique. When you take the next bar out of the mold, examine the boundary between the layers first before admiring the pattern. If the layers remain attached when you handle the soap normally, and you don’t notice any separation along the line between the colors, it means your layering techniques are improving!